This is something that wasn’t key for me but since I’ve got it set it up has quickly became one of the most powerful configurations I have done.
To start with you’ll need:
- Domain name
- Opnsense
- Cloudflare account
So, what are the benefits? It’s really simple, DDNS tracks your IP address as it changes and then updates cloudflare
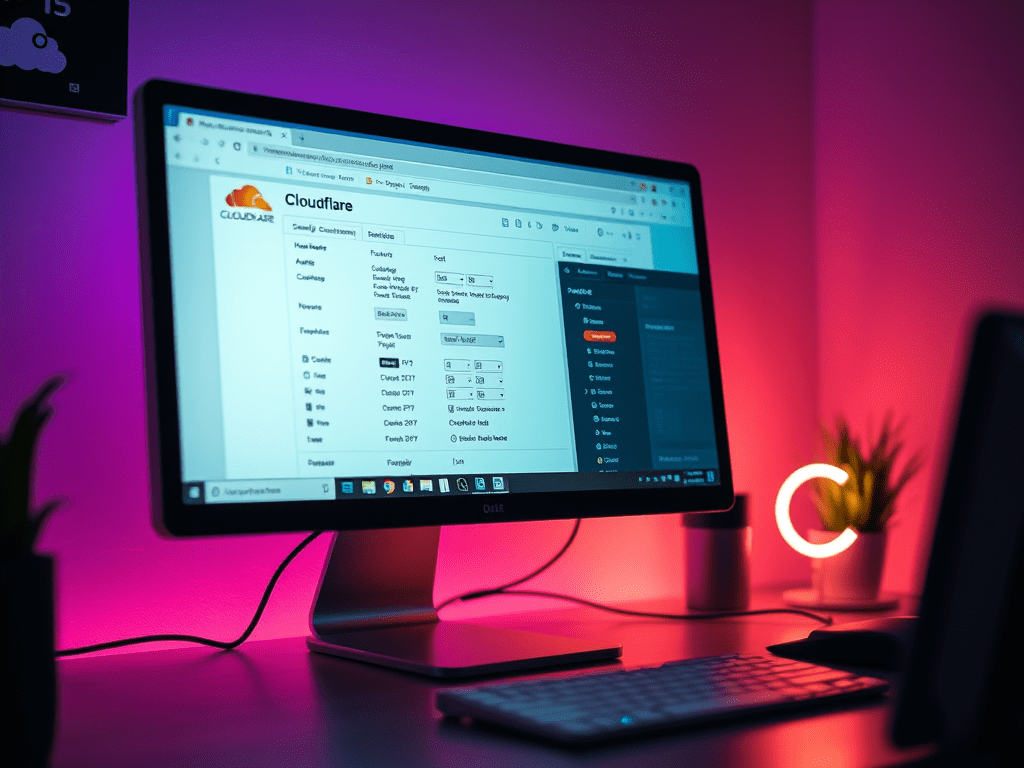
Cloudflare
I’m going to assume you already have a Cloudflare account, if not, sign up now.
- From your Account Home select your domain name and then DNS and finally Add record.
- You’ll need to create the following:
- Type = A
- name = ddns
- ip address = 1.1.1.1 (temporary)
Next we will need to create an API token. Still within Cloudflare:
- Select your profile at the top right hand corner of the page, followed by profile
- From the menu select API Token and then click Create Token.
- Fill in the following details:
- Permissions
- Zone –> DNS –> Edit
- Zone Resources
- Include –> specific zone –> yourdomain.com
- Permissions
- Copy the API key
Opnsense
Install DDNS Plugin
To install the plugin or check that it’s installed browse to your Opnsense IP.
- Browse to System –> Firmware –> Plugins
- Search for os-ddclient
- To install click the + icon. If installed you will have [installed] visible.
Configure DDNS
Browse to Services –> Dynamic DNS –> Settings and click + to begin.
- Enter your description, I used domain.ddns
- Service = Cloudflare
- Password – Your CloudFlare API key
- zone = your domain
- hostname = ddns.yourdomain.com
- check ip method = interface
- Interface to monitor = WAN
- Force SSL = ticked by default.
Other Settings
within General Settings
- Interval = 900 seconds
- Backend = ddclient

Leave a comment